Performing infant CPR for parents involves a cycle of 30 chest compressions followed by 2 rescue breaths until emergency responders arrive. Use two fingers to press the center of the chest 1.5 inches deep at a rate of 100 to 120 compressions per minute; then, deliver gentle breaths by covering both the baby's nose and mouth. This immediate intervention provides vital blood flow and oxygen during a life threatening emergency.
The silence of a baby who is not breathing is a parent's most profound fear; it is a moment where every second dictates the future. For most caregivers, this anxiety stems not from the risk itself, but from the realization that they lack the specific technical skills required to intervene effectively. At T.A.T.E Institute, we believe that clinical proficiency should not be reserved for medical professionals alone. Understanding the nuances of infant physiology is essential because a baby is not merely a small adult; their anatomy requires a specialized approach. In this guide, we will provide a rigorous, step by step breakdown of the latest resuscitation protocols. You will learn how to assess responsiveness, master the precise hand placement for infant compressions, and execute rescue breaths with confidence. This framework will transform your fear into a practical, life saving capability.
The Fear of the Unknown: Why Every Parent and Grandparent Needs Infant CPR Skills
The prospect of a medical emergency involving a baby is a source of deep anxiety for any caregiver. That feeling of helplessness, the weight of the "what if" that keeps parents and grandparents awake at night, is a heavy burden to carry. At T.A.T.E Institute, we recognize that learning infant CPR is about more than mastering a clinical sequence; it is about building a vital safety net for your family. By gaining these skills, you transform that fear into a proactive state of readiness.
While we are fortunate in Trenton and the surrounding South Carolina area to be served by dedicated emergency professionals, the first few minutes of a respiratory or cardiac event are the most critical. When seconds count, the person standing right there is the true first responder. For the purposes of these lifesaving techniques, an infant is defined as any child from birth up to one year of age. Seeking CPR training for families ensures that you can bridge the gap between the moment an emergency occurs and the arrival of paramedics. Investing in certified, hands-on instruction provides the confidence to act effectively when your child or grandchild needs you most.
Key Differences: Why You Cannot Treat a Baby Like a Small Adult
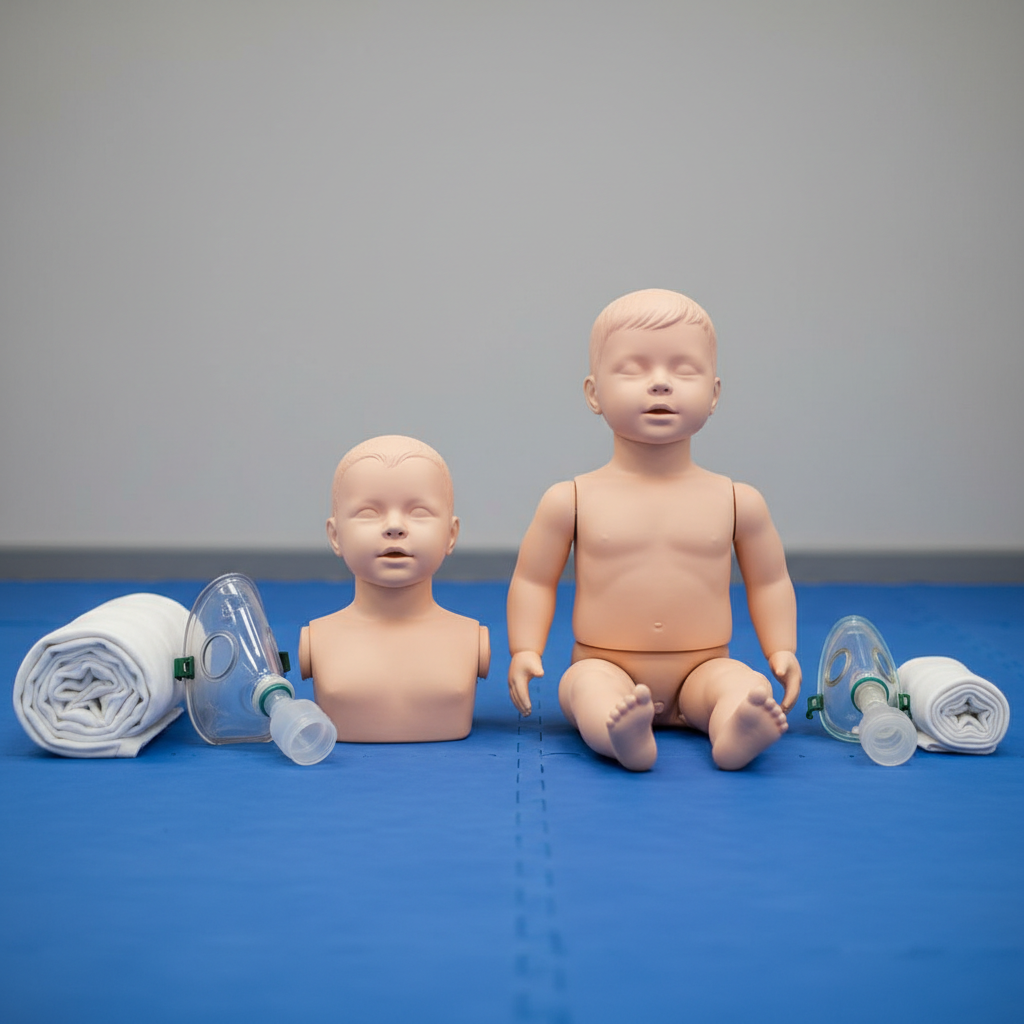
Understanding the physiological distinctions between an adult and a baby is critical for effective intervention. A common misconception is that a baby is simply a smaller version of an adult, but their anatomy requires a specialized approach. In most adult cases, cardiac arrest stems from a primary heart issue. However, emergencies involving infants are typically respiratory in nature, meaning a breathing problem has caused the heart to slow down or stop. Because their bones are still developing, infants have highly flexible, fragile ribs and much smaller, narrower airways that can be easily obstructed or compressed.
When performing infant CPR for parents, there are three primary technical differences to master. First, the method for chest compressions changes. While an adult requires the force of two hands or one full palm, an infant requires only two fingers or two thumbs to provide sufficient pressure without causing internal injury. Second, the depth of these compressions is shallower. You must compress the chest approximately 1.5 inches for a baby, compared to at least 2 inches for an adult.
Finally, the technique for delivering life-giving oxygen differs. Because a baby’s face is so small, you must place your mouth over both their nose and mouth to create a proper seal. This ensures the air enters the lungs rather than escaping through the nose. Enrolling in Heartsaver courses or seeking certified, hands-on instruction allows you to practice these nuances on specialized manikins, ensuring your muscle memory is tuned to the delicate needs of an infant.
Step 1: Check the Scene and the Baby's Responsiveness
Before you begin any physical intervention, quickly ensure the environment is safe for both you and the child. Once the scene is secure, your immediate priority is to assess the infant's level of consciousness. Unlike an adult, you should never shake a baby to wake them; their neck muscles and brain are too fragile for such force. Instead, firmly tap the bottom of the infant's foot while shouting their name or a loud command to see if they react.
Simultaneously, observe the chest for normal breathing. This assessment should take at least five seconds but no more than ten. It is vital to recognize that occasional gasps, known as agonal respirations, are not the same as normal breathing; these are reflexive sounds that do not provide oxygen. If the baby does not move, cry, or breathe normally, yell for help immediately to alert anyone nearby. Mastering this initial assessment is a cornerstone of infant CPR for parents. Investing in certified, hands-on instruction ensures you can perform these checks with the speed and precision required in an emergency.
Step 2: Calling 911 in an Infant Emergency
If someone is with you, point directly at them and command them to call 911 and retrieve an AED. When you are alone, the sequence of actions depends on whether you witnessed the infant collapse. If the baby suddenly loses consciousness in your presence, call 911 immediately before starting compressions. However, if you find the infant already unresponsive and you are alone, perform five cycles of CPR, which takes about two minutes, before pausing to call emergency services. This prioritized approach provides immediate oxygenation to the baby's system; this is vital because most pediatric emergencies are respiratory in nature.
When speaking with dispatchers, provide your exact location to minimize response times. If you are at a local landmark like Virginia H. Gray Park or within a specific neighborhood like Sage Creek in Trenton, SC, mention these details clearly to help responders find you. Knowing how to navigate these high-stress moments is a core part of infant CPR for parents and CPR training for families. Mastering these logistics through Heartsaver courses ensures you do not lose precious seconds when help is on the way.
Step 3: Infant CPR Hand Placement and Compressions
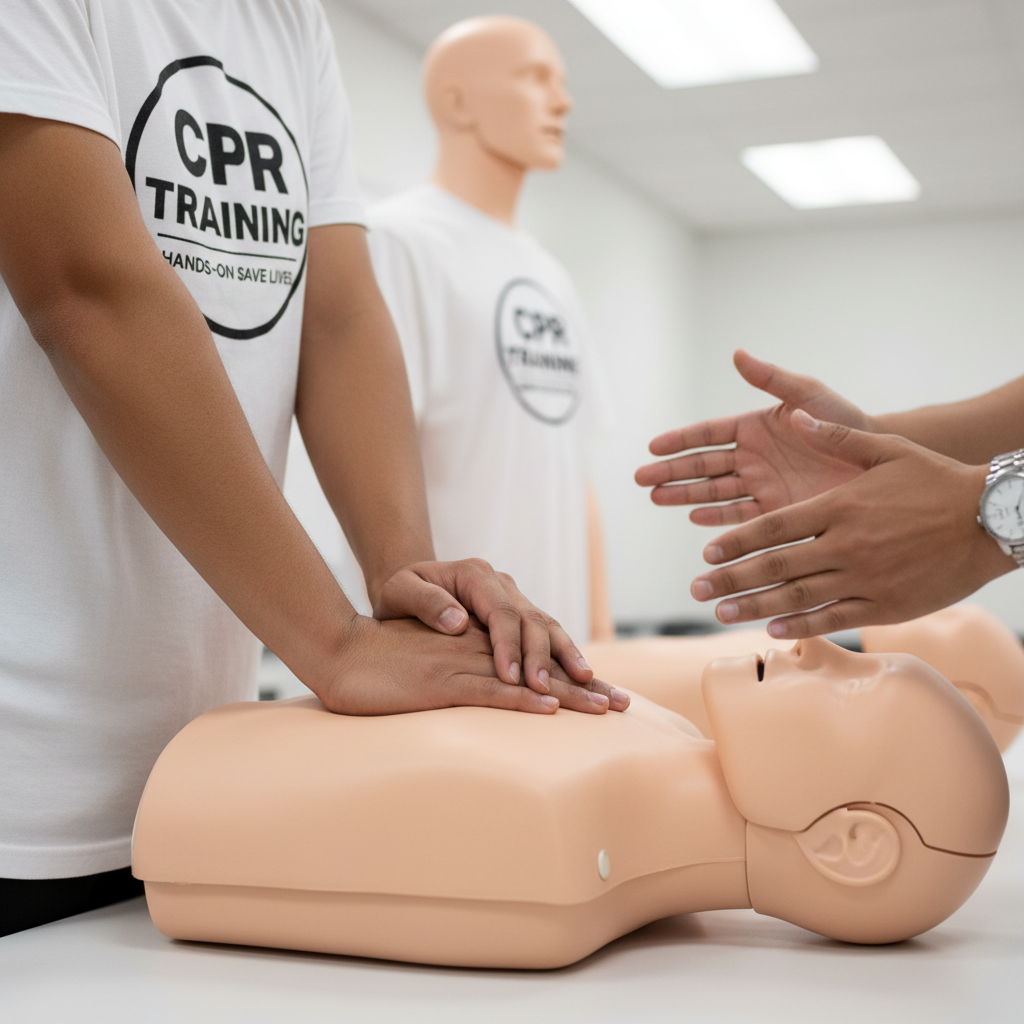
Once you have identified that the infant is unresponsive and help is on the way, you must begin chest compressions immediately to keep oxygenated blood flowing to the brain and vital organs. Proper infant CPR hand placement is the foundation of effective intervention. If you are the only person available, you will use the two-finger technique. Place the infant on a firm, flat surface like a sturdy table or the floor. Position two fingers in the center of the chest, just below the imaginary line connecting the nipples. Push down approximately 1.5 inches, ensuring you allow the chest to recoil completely between each compression so the heart can refill with blood.
If a second person is available to help, the two-thumb encircling technique is the preferred method. In this scenario, wrap both of your hands around the infant’s torso so that your fingers support the baby’s back and both of your thumbs meet in the center of the chest, just below the nipple line. This method often provides more consistent pressure and is less tiring for the rescuer.
Speed is just as critical as depth. You must maintain a rate of 100 to 120 compressions per minute. This rhythm can feel remarkably fast during a crisis, so many parents find it helpful to time their compressions to the beat of "Stayin' Alive" or the children's song "Baby Shark." Maintaining this steady, rapid pace ensures the manual pumping of the heart is effective. Because these physical skills require precision, certified, hands-on instruction is the best way to ensure your technique is accurate. Engaging in Heartsaver courses allows you to practice these movements on manikins, building the muscle memory necessary for infant CPR for parents to be successful in a real-world emergency.
Step 4: Opening the Airway and Giving Rescue Breaths
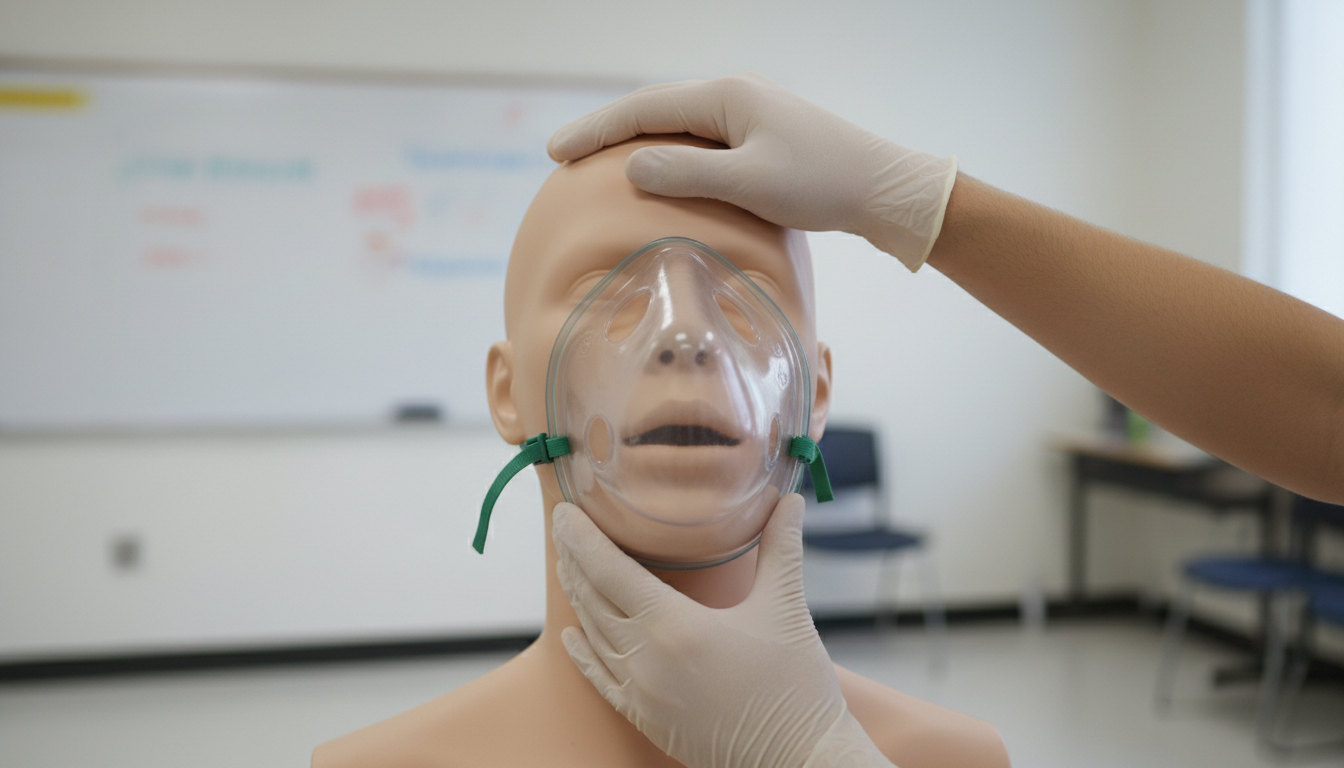
After completing 30 compressions, you must transition immediately to providing oxygen. This begins by opening the airway using the head-tilt, chin-lift maneuver. Unlike an adult, an infant’s neck should only be moved to a neutral position, where the nose is pointing straight up toward the ceiling. You must be careful not to over-tilt the head back. An infant’s airway is soft and flexible, much like a thin plastic straw; if you tilt the head too far, the airway can actually kink shut, preventing air from reaching the lungs.
Once the airway is in a neutral position, place your mouth over both the infant's nose and mouth to create a complete, airtight seal. This ensures the air you provide enters the lungs rather than escaping. Deliver two gentle breaths, with each breath lasting approximately one second. Your goal is to see the chest visibly rise with each breath. If the chest does not rise, the airway may not be properly positioned. Re-tilt the head to a neutral position and attempt one more breath. If it still does not rise, return immediately to chest compressions. Gaining certified, hands-on instruction through Heartsaver courses is the most effective way to learn exactly how much force is required for these breaths, as a baby’s lung capacity is significantly smaller than an adult’s.
Step 5: The 30 to 2 Ratio and Using an AED on an Infant
Infant CPR for parents relies on a consistent rhythm: 30 chest compressions followed by two rescue breaths. You should continue this 30 to 2 cycle without interruption until the infant starts breathing, professional responders take over, or an Automated External Defibrillator (AED) is brought to the scene. Maintaining this ratio is vital for providing the continuous flow of oxygenated blood that a baby's brain and organs require during a cardiac or respiratory event.
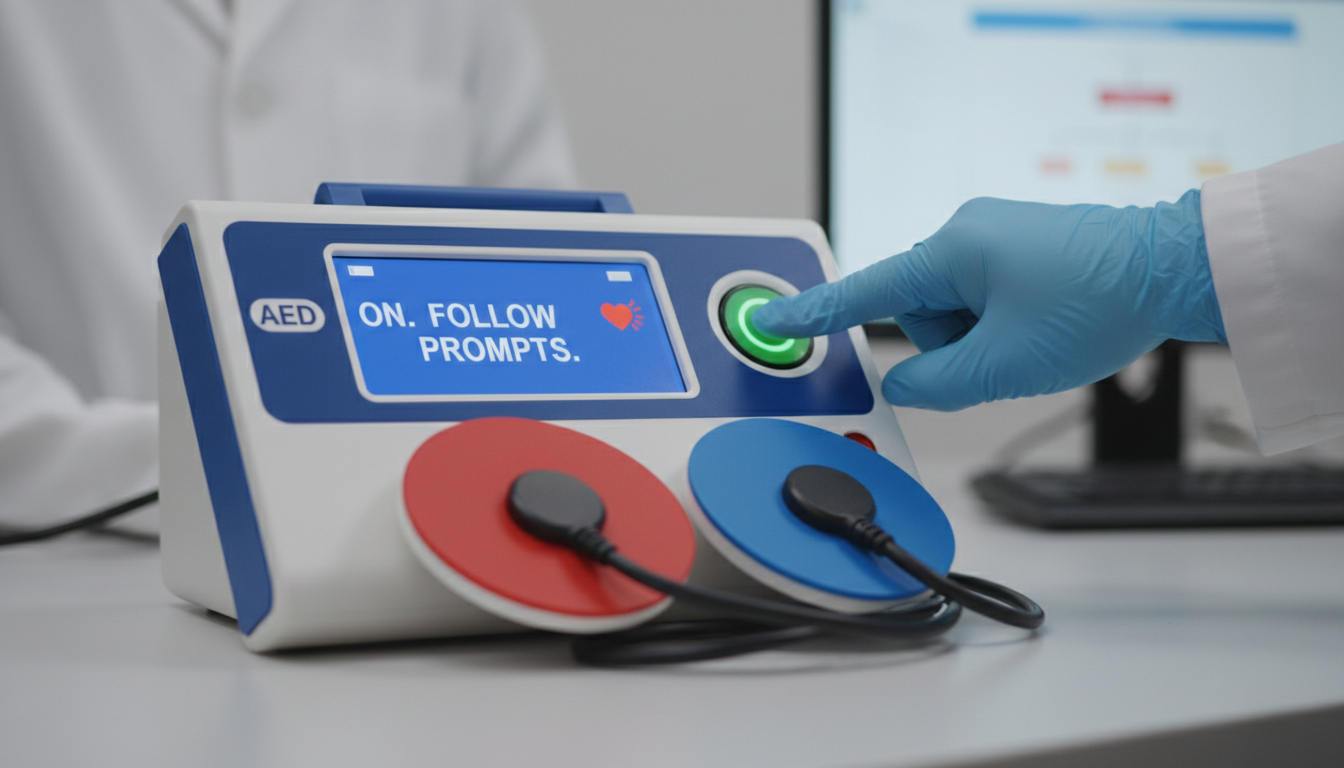
Many caregivers wonder if an AED is safe for a baby. You can and should use an AED on an infant if one is available. If the device includes pediatric pads, use those first, as they are designed to deliver a lower energy level appropriate for a child. If only adult pads are available, they are still safe to use as long as they do not touch each other. To achieve this, place one pad firmly in the center of the infant's chest and the second pad on the center of their back, between the shoulder blades.
The AED acts as a partner during the rescue, providing loud, clear voice prompts that guide you through every step of the process. It will analyze the infant's heart rhythm and only advise a shock if it is medically necessary. Gaining certified, hands-on instruction through Heartsaver courses allows you to practice with trainer AEDs, ensuring you can operate the device calmly and correctly when every second matters.
A Special Note for Grandparents: Modern Safety Standards
Grandparents in the Trenton area often provide essential childcare, yet the emergency protocols learned decades ago have evolved significantly. If your last first aid course took place twenty or thirty years ago, you likely remember different ratios and a heavier emphasis on checking for a pulse. Modern standards prioritize immediate chest compressions and specific airway management that differs from older methods. This skills refresh is not about starting from scratch; it is about aligning your instincts with the most current medical evidence to ensure the safest environment for your grandchildren.
Your decades of life experience provide a level of calm and perspective that is invaluable during a crisis. Once you master the updated techniques through certified, hands-on instruction, you become an exceptionally capable first responder. Enrolling in Heartsaver courses allows you to practice these modern adjustments, such as the neutral head position and the two-finger compression technique. Transitioning your knowledge into today's best practices through CPR training for families ensures you are fully prepared to act if a medical emergency occurs in your home.
Learning infant CPR provides the essential foundation needed to act quickly during an emergency. While understanding the steps is a vital first milestone, nothing replaces the confidence gained through guided training and practice. If you want expert help to refine your skills or gain deeper insights, exploring our range of professional Courses is an excellent next step. Investing in your education today ensures that you are truly prepared to protect your child, providing invaluable peace of mind for your entire family.