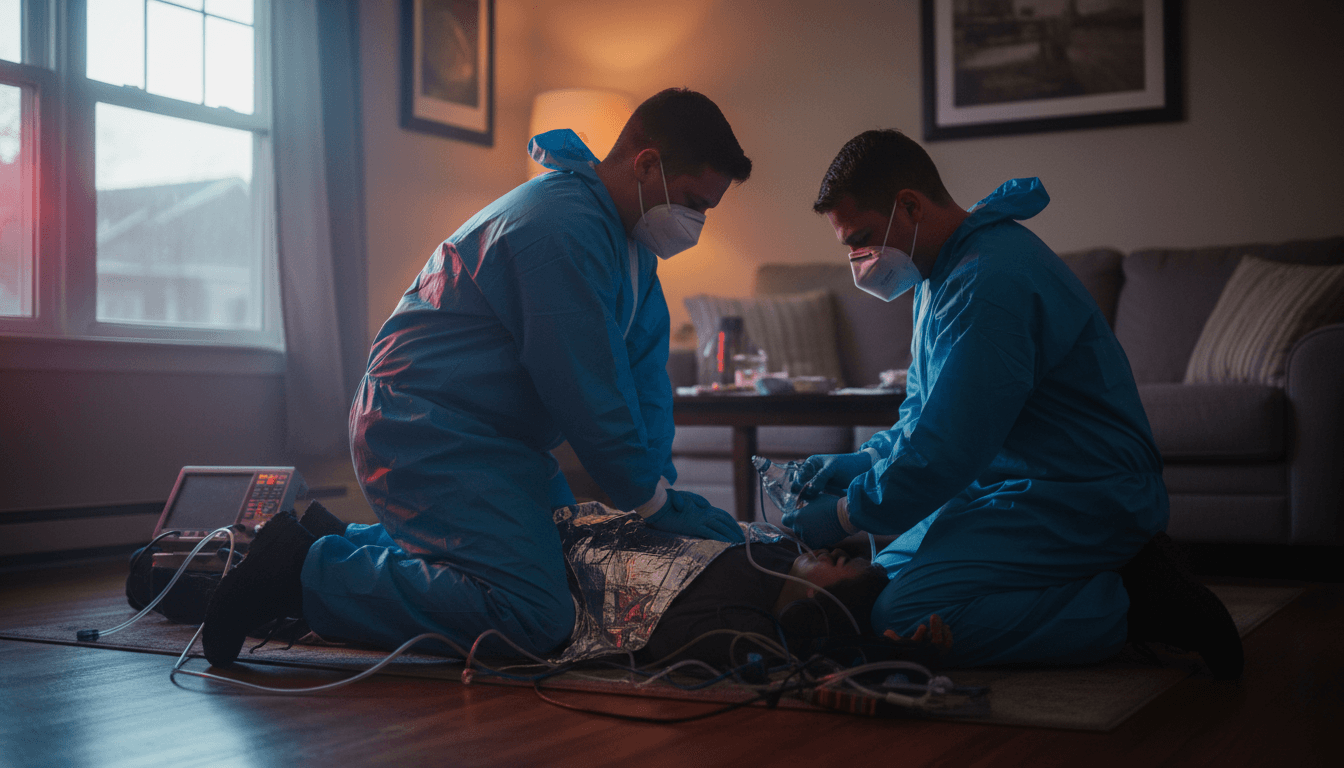
To know how to stop severe bleeding, immediately call emergency services and apply firm, direct pressure to the wound using a clean cloth or gauze. If direct pressure fails to control blood flow on a limb, apply a tourniquet two to three inches above the injury site to stabilize the victim. These immediate actions are vital for preventing life-threatening blood loss before professional medical responders arrive.
The silence following a traumatic injury is often more terrifying than the initial impact. When you encounter a major arterial breach, you have mere minutes to intervene before the situation becomes irreversible; at this stage, hesitation is your greatest liability. Understanding the mechanics of hemorrhage control is not a niche skill reserved for combat medics, it is a fundamental requirement for anyone committed to the preservation of life in a crisis. This guide provides a professional, step by step framework for managing catastrophic blood loss. You will learn to recognize life threatening bleeding immediately through the PPET mnemonic, master the application of clinical direct pressure, and understand the precise mechanics of tourniquet deployment. From wound packing techniques to building a high tier bleeding control kit, we provide the expert knowledge necessary to transform panic into decisive, life saving action.
Recognizing Life-Threatening Bleeding: When Every Second Counts
Identifying a medical emergency requires a shift in focus from the amount of blood visible to the way the blood is moving. While minor abrasions might look messy, life-threatening hemorrhage presents specific visual cues that demand immediate action. You must look for blood that spurts from the wound, often in time with the heartbeat, or flows continuously without stopping. Other critical signs include blood that is pooling on the ground or rapidly soaking through layers of clothing and bandages.
Estimating the total volume of blood lost is notoriously difficult and often inaccurate in high-stress situations. Instead, prioritize observing the flow behavior. If the bleeding is aggressive enough to saturate a large area of fabric quickly, the body is at immediate risk of physiological shock. Shock occurs when the cardiovascular system can no longer pump enough oxygenated blood to vital organs, leading to a rapid and potentially fatal decline.
Understanding how to stop severe bleeding begins with this recognition. If you encounter a situation where you are unsure if the injury is life-threatening, the safest course of action is to treat it as a critical emergency. Prompt intervention with certified, hands-on instruction can prevent a treatable injury from becoming fatal before professional medical help arrives.
The Three Ps and PPET: Understanding Bleeding Control Mnemonics
To effectively manage an emergency, responders often rely on mnemonics to stay focused under pressure. You may have heard of the Three Ps of first aid: Preserve life, Prevent worsening, and Promote recovery. While these provide a solid philosophical foundation, clinical interventions for active hemorrhage require more specific, actionable steps. Students preparing for AHA Heartsaver courses often use the PPET mnemonic to organize their response: Direct Pressure, Pressure bandage, Elevation, and Tourniquet.
It is important to note that modern protocols have evolved. While elevation was once taught as a primary step, it is now less prioritized because it rarely stops arterial flow on its own. The current Stop the Bleed standard focuses on a more aggressive and effective sequence: Pressure, Packing, and Tourniquets. In this hierarchy, manual direct pressure is the immediate priority. If the wound is deep or located in a junctional area like the groin or armpit where a tourniquet cannot be applied, packing the cavity with gauze becomes essential. For life-threatening limb injuries that do not respond to pressure, a tourniquet is the definitive tool. Understanding these frameworks is the first step in learning how to stop severe bleeding, as they provide a clear mental map when every second counts.
Step by Step: How to Stop Severe Bleeding with Direct Pressure
Once you have identified a life-threatening hemorrhage, you must act decisively. Direct pressure remains the primary first line of defense for nearly all external injuries, providing the best chance to stabilize a patient before EMS arrives. Before beginning, ensure the scene is safe for both you and the victim to avoid creating additional casualties. Immediately call 911 and place your phone on speaker nearby. This allows you to communicate vital information to dispatchers while keeping both hands available for the life-saving task at hand.
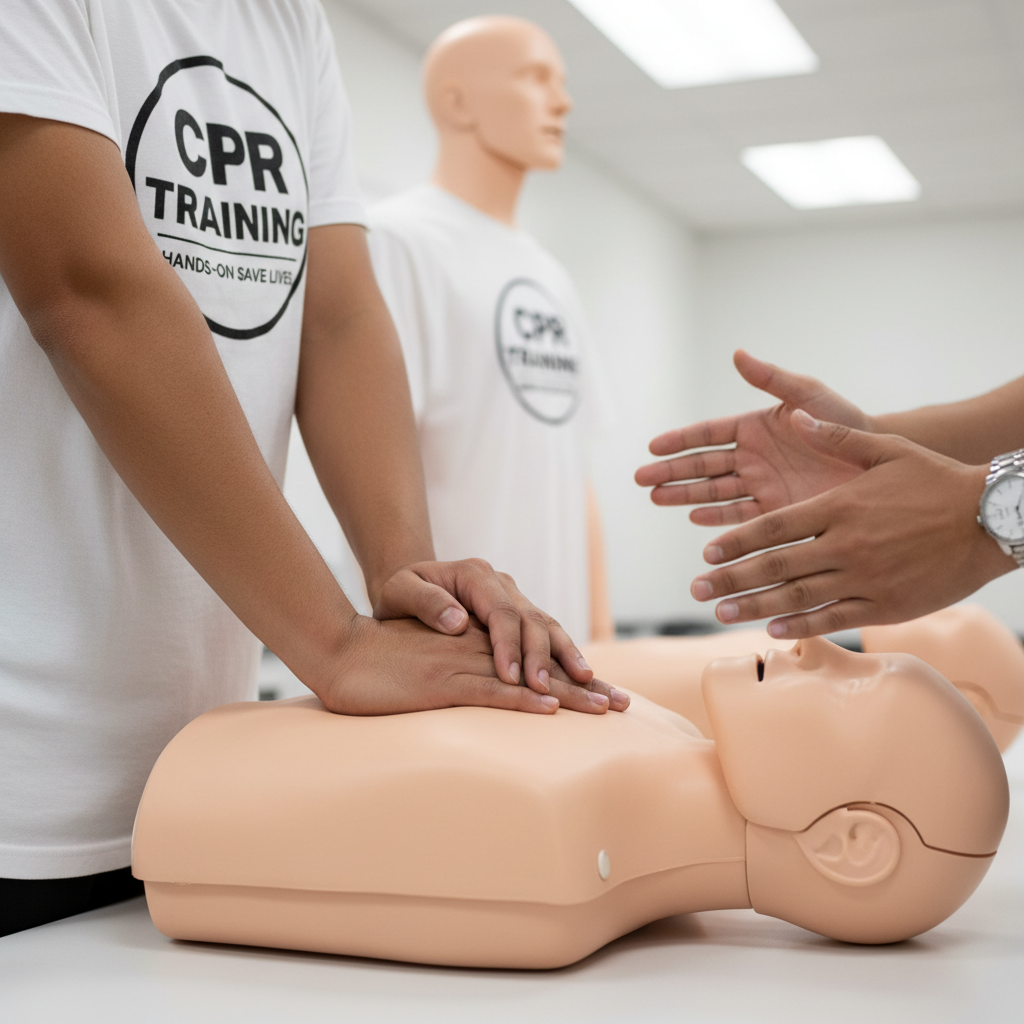
To be effective, you must identify the exact source of the bleed. This often requires cutting or moving clothing to expose the skin directly, as bulky fabrics can hide the true location of a laceration. Once the source is visible, cover it with a clean cloth, sterile gauze, or a dedicated trauma dressing. Place both hands over the dressing and push down hard. You should lean into the patient, using your body weight to maintain steady, unrelenting force.
Maintaining this pressure is vital for clot formation. A common error is lifting the cloth to check if the bleeding has stopped. This action pulls away the newly formed fibrin mesh and can restart the hemorrhage. If the blood soaks through your initial layer of gauze, do not remove it. Simply place a second layer of material directly over the first and continue applying firm pressure. This manual intervention is the most critical skill taught in certified, hands-on instruction and serves as the foundation for how to stop severe bleeding in any environment.
When and How to Use a Tourniquet in an Emergency
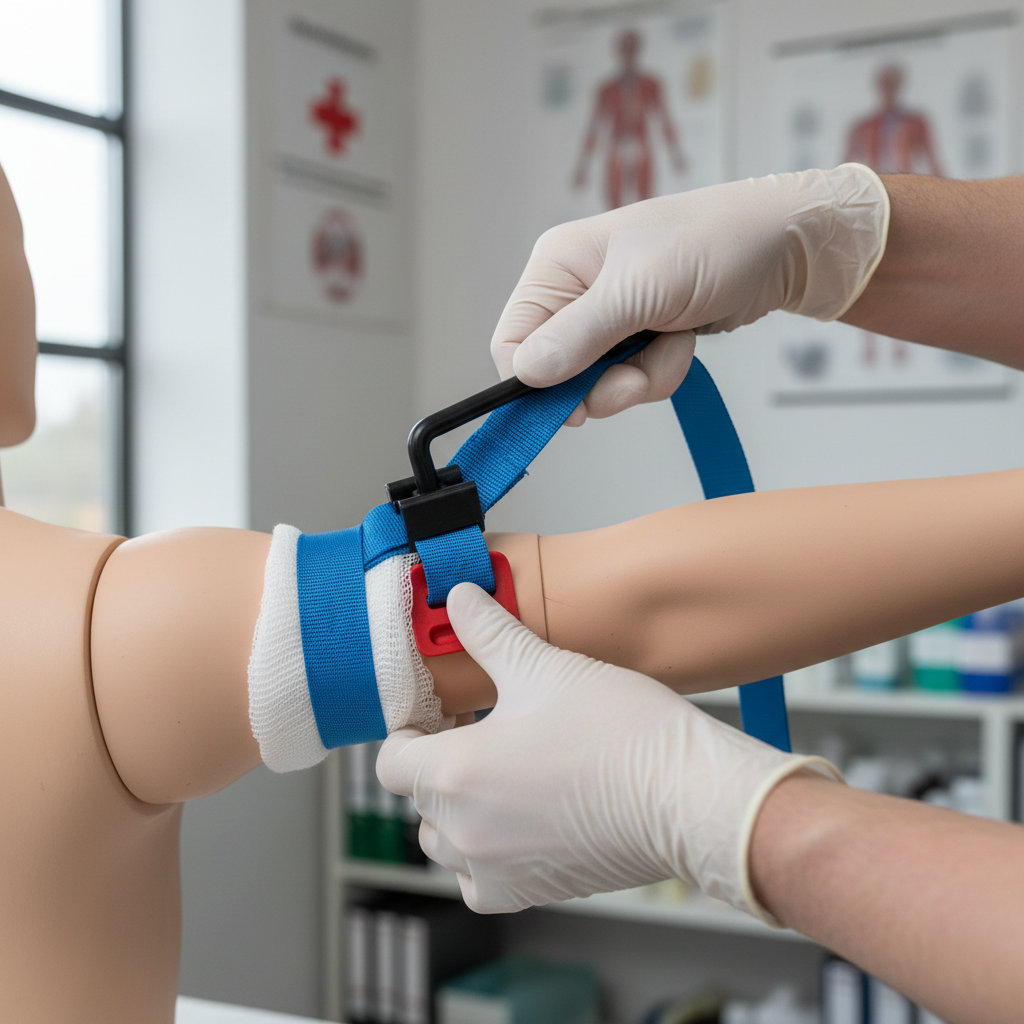
Direct pressure is a powerful tool, but certain scenarios require a more aggressive intervention. If manual compression fails to stop the flow from an arm or leg, or if you are managing a mass casualty situation with multiple victims, you must transition to a tourniquet. A tourniquet is a life-saving device designed to shut down blood flow to a limb entirely by compressing the underlying artery against the bone.
When you determine a tourniquet is necessary, follow these specific steps to ensure effectiveness:
Place the tourniquet directly on the skin, two to three inches above the wound. This location, situated between the injury and the heart, ensures you are cutting off the source of the flow.
Avoid placing the device over a joint, such as an elbow or knee. The anatomy of these areas prevents the strap from compressing the artery sufficiently.
Pull the strap as tight as possible to remove all slack before engaging the windlass.
Twist the windlass rod until the bleeding stops completely and the distal pulse is no longer palpable.
Secure the windlass in the clip and document the exact time of application on the device or the patient's forehead.
It is important to prepare the victim for the sensation. A properly applied tourniquet is extremely painful, often more so than the injury itself. However, this discomfort is a necessary trade-off for survival. You should also be wary of improvised tourniquets, such as belts or neckties. Research indicates these often fail to stop arterial flow and may only compress the veins, potentially worsening the hemorrhage. For those seeking certified, hands-on instruction on these devices, practicing with professional-grade equipment is essential. Understanding how to stop severe bleeding with a commercial tourniquet is a core component of AHA Heartsaver courses and critical for any local responder in Trenton.
Why Is a Tourniquet Placed 2 to 3 Inches Above the Wound?
Understanding the specific placement of a tourniquet is a critical component of learning how to stop severe bleeding effectively. Placing the device 2 to 3 inches above the wound, or proximal to the heart, ensures that you are compressing the artery against a single, solid bone. In the thigh, this is the femur; in the upper arm, it is the humerus. This anatomical leverage is what allows the device to shut down arterial flow entirely by pinching the vessel against a stable surface.
You must avoid placing the tourniquet over a joint, such as the knee or elbow. The complex bone and ligament structure in these areas creates protective gaps that prevent the strap from applying even pressure to the artery, rendering the intervention ineffective. In high-stress emergencies where the exact wound site is obscured by heavy clothing or poor lighting, the high and tight rule is the preferred tactical alternative. By placing the device as high on the limb as possible, you maximize the chance of occluding the vessel before it reaches the injury. Gaining these skills through certified, hands-on instruction provides the confidence to act decisively when every second matters.
Wound Packing and Bleeding Control for Children

While tourniquets are effective for limbs, they cannot be applied to junctional areas such as the neck, shoulder, or groin. In these specific locations, wound packing is the essential technique for how to stop severe bleeding. This process involves taking sterile gauze, or a clean cloth if medical supplies are unavailable, and physically stuffing it into the wound cavity. You must continue to feed the material deep into the injury until the entire space is filled; then, apply aggressive manual pressure directly over the packed material. The goal is to create internal pressure against the bleeding vessel from within the wound itself.
When treating children, the physiological principles remain the same, though the scale changes. Because children have smaller limb circumferences, manual direct pressure is often more effective than it is in adults. If a life-threatening limb injury occurs in a child and pressure fails, modern commercial tourniquets can typically be adjusted to fit. However, for infants or very small toddlers where a tourniquet may not get tight enough, your hands remain the most reliable tool. Gaining certified, hands-on instruction is the best way to understand how to adapt these life-saving measures for victims of all ages. Practicing these scenarios in AHA Heartsaver courses ensures you can scale your response appropriately during a crisis.
Building Your Bleeding Control Kit: Essential Supplies
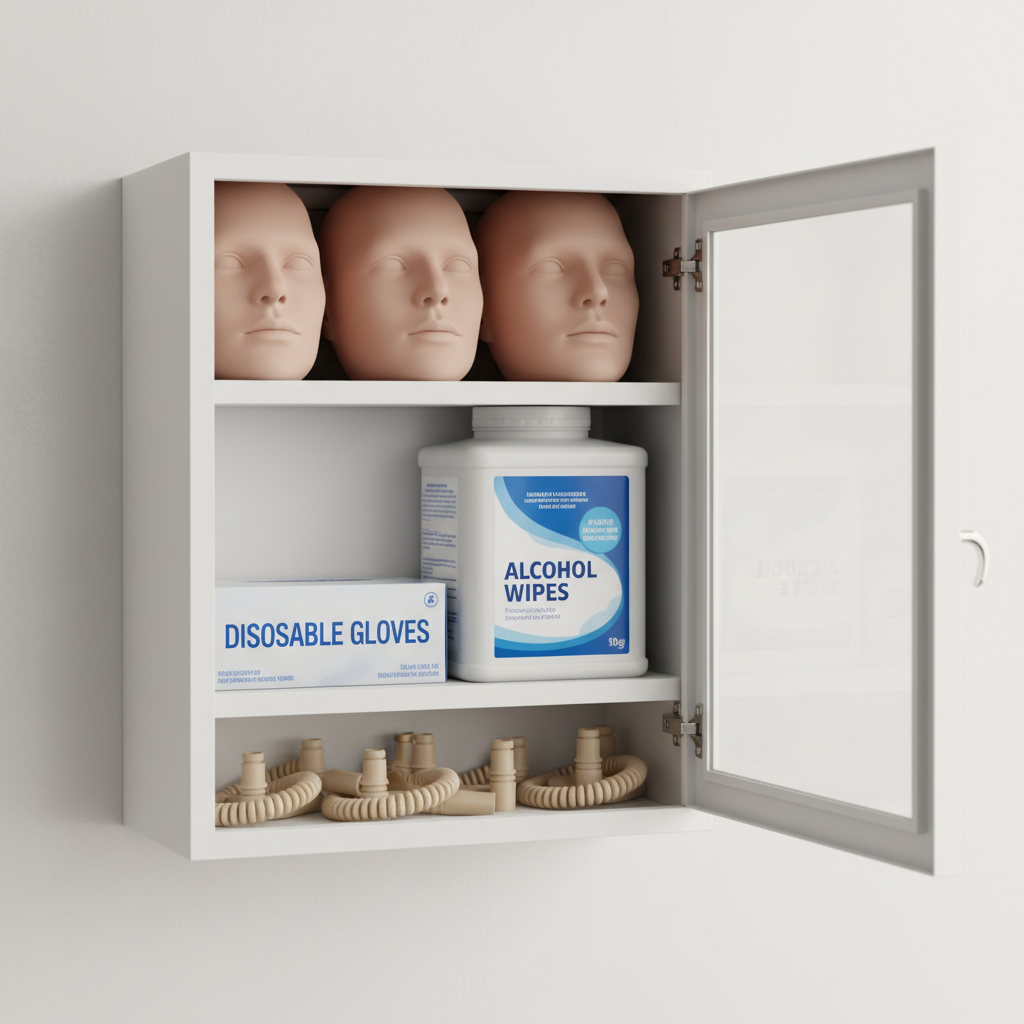
Effective intervention depends on having the right equipment ready before an emergency occurs. Keeping a dedicated bleeding control kit in your vehicle or home ensures you can manage a crisis during the critical minutes before EMS arrives. Every kit should center on a Committee on Tactical Combat Casualty Care (CoTCCC) recommended tourniquet, such as the Combat Application Tourniquet (CAT) or the Special Operations Forces Tactical Tourniquet (SOFTT-W). These devices are the industry standard for how to stop severe bleeding from limbs.
Beyond tourniquets, include hemostatic gauze like QuikClot, which contains agents that accelerate the natural clotting process. Standard emergency pressure dressings, often called Israeli bandages, are also vital for maintaining compression. Always include personal protective equipment, specifically nitrile medical gloves, to guard against bloodborne pathogens. Finally, pack a permanent marker to record the exact application time of a tourniquet on the device’s time strap. While high quality gear is essential, its effectiveness relies entirely on your ability to use it properly through certified, hands-on instruction.
Get Certified: Hands-on Bleeding Control Training in Trenton, South Carolina
Reading about these techniques is an important first step, but it cannot replicate the tactile experience of applying a real tourniquet or packing a simulated wound. In a high-stress emergency, your cognitive functions may slow, making muscle memory your most valuable asset. T.A.T.E Institute provides certified, hands-on instruction right here in Trenton, South Carolina, to ensure you can execute these maneuvers correctly the first time.
Our instructors guide residents from Aiken and Edgefield counties through specific scenarios in Basic Life Support and AHA Heartsaver courses. These classes focus on the practical application of force and the correct tensioning of a windlass, skills that are difficult to master through a screen alone. By practicing in a controlled environment, you learn exactly how much pressure is required and how to identify anatomical landmarks under pressure. If you are ready to gain the confidence to handle a medical crisis, contact T.A.T.E Institute to find a local class. You will leave equipped with the practical skills necessary for how to stop severe bleeding and save a life.